 how-to
Tools for Door Reinforcement: Complete DIY Guide
Table of Contents
- What You'll Need Before Starting
- How to Reinforce Front Door Frame: Step-by-Step
- Door Security Kit Installation: Hardware and Fasteners
- How to Prevent Door Kick-Ins: Reinforcement Techniques
- Tools for Different Door Types
- Common Mistakes to Avoid
- Frequently Asked Questions
Last Updated: September 28, 2026
What You'll Need Before Starting
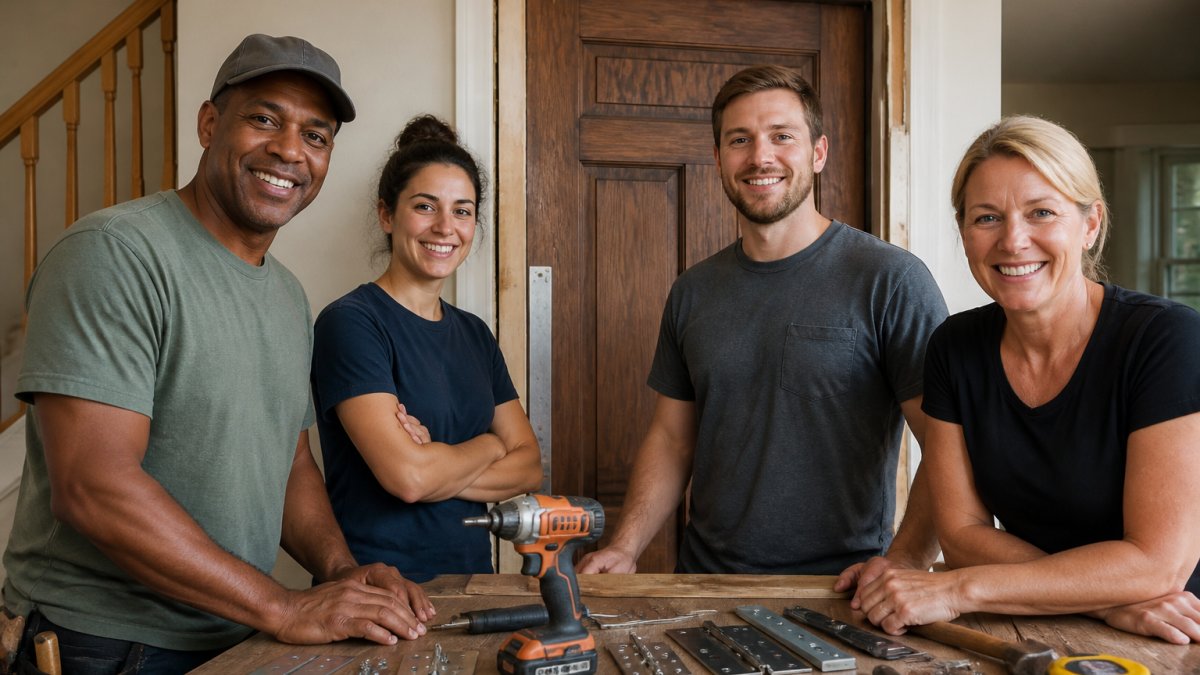
Before you pick up a drill, gather the right door reinforcement tools. Door reinforcement isn't complicated, but using the wrong equipment wastes time and money. The good news: most of these tools are items homeowners already have.
Here's what you'll actually need for door reinforcement:
- Power drill (cordless works best)
- Drill bits (1/8", 3/16", and 1/4" sizes)
- Screwdriver set (Phillips and flat-head)
- Measuring tape (at least 25 feet)
- Level (to ensure hardware sits straight)
- Pencil (for marking drill points)
- Safety glasses (always protect your eyes)
- Work gloves (optional but recommended)
- Stud finder (helpful but not essential)
The investment is minimal. The real cost comes from the security hardware itself, which reinforces your actual entry points.
How to Reinforce Front Door Frame: Step-by-Step
Reinforcing your front door frame is the most critical security upgrade you can make. The door frame is where forced entry typically happens. Most break-ins exploit weak strike plates and hinges, not the door itself.
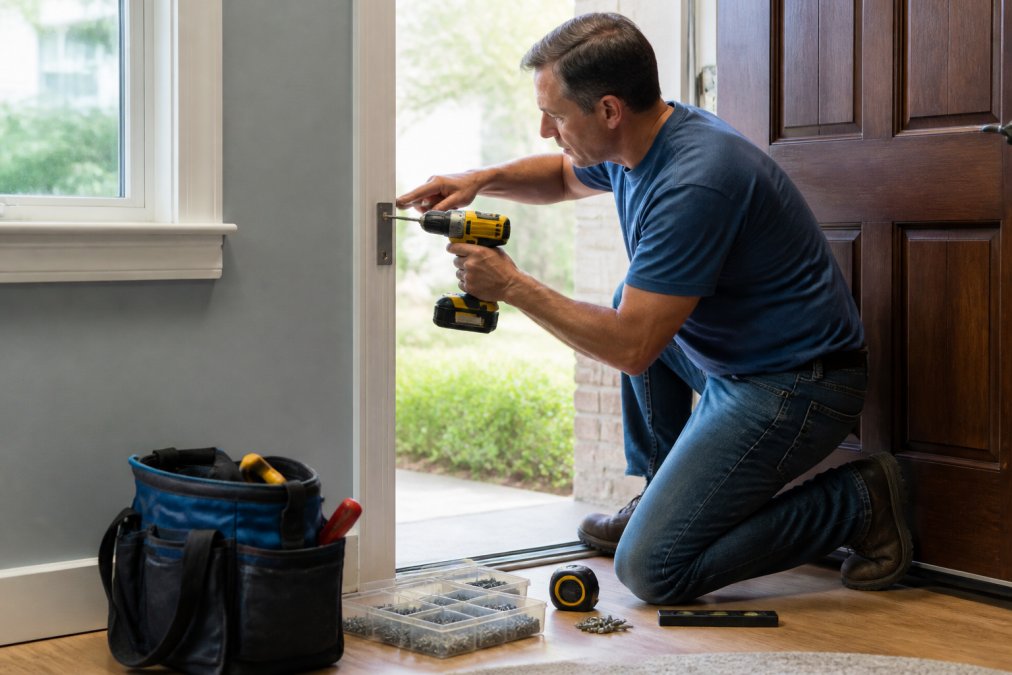
Step 1: Inspect Your Door and Frame
Start by understanding what you're working with. Close your door and look at the frame. Push on the door frame near the lock. If it flexes, that's a problem. That movement is exactly what an intruder exploits during a kick-in.
Check the door thickness. Most residential doors are 1-3/8" or 1-3/4" thick. Measure yours with your tape measure. This matters because your fasteners need to be long enough to reach solid wood behind the frame. Look at your hinges. Count them. Standard doors have two or three.
Examine the strike plate. This small metal piece holds the latch bolt. Many original strike plates use short fasteners that only grip the surface wood, not the solid framing behind it. That's your first weak point to fix.
Step 2: Install Strike Plate Reinforcement
The strike plate is where most doors fail during a kick. A reinforced strike plate with long fasteners changes everything.
Remove the existing strike plate by unscrewing it. You'll see short screws, usually 3/4" to 1" long. These are useless for security. They only grip the surface wood.
Measure the hole spacing on your old strike plate. Most are 2-3/8" from the center hole to the outer holes. Mark your new mounting points on the door jamb using a pencil. Use a level to ensure your marks are straight.
Drill pilot holes at your marks. Use a 1/8" drill bit to prevent wood splitting. Start slow. Let the drill do the work.
Install your new strike plate with long fasteners. Use screws that are at least 2.5" long. These need to bite into the solid wood framing behind the jamb, not just the surface. Tighten firmly but don't strip the holes.
Step 3: Secure Hinge Shields
Hinges are the second weak point. If the hinges fail, the door swings open regardless of the lock.
Remove the screws from your existing hinges. You'll see short screws here too, usually 3/4" or 1" long. Replace them with 2.5" to 3" fasteners. These long screws reach the solid framing.
Tighten each screw firmly. Use a screwdriver, not the drill, for the final turns. You want these tight enough that the hinge doesn't move when you push on it.
Install hinge shields if your door has exposed hinges on the outside. Shields prevent someone from removing the hinge pins from outside. They're inexpensive and take five minutes to install.
Step 4: Add Door Jamb Protection
The door jamb is the vertical wood frame that holds your door. It's often thinner than you'd expect. Reinforce it with a jamb shield or reinforcement plate.
A jamb shield screws into the face of the jamb, creating structural rigidity. This prevents the frame from flexing inward during a kick. Measure your jamb thickness first. Most residential jambs are 3/4" to 1-1/4" thick.
Mark your mounting points. Most jamb shields mount near the lock area and at the top and bottom of the frame. Use a level. Drill pilot holes with a 1/8" bit.
Install with long fasteners, the same 2.5" screws you used for the strike plate. Tighten firmly. The jamb should feel solid when you push on it.
Door Security Kit Installation: Hardware and Fasteners
The hardware you choose determines how effective your reinforcement actually is. Not all security hardware is created equal.
Fasteners matter most. Use galvanized or stainless steel screws. They resist rust and won't corrode over time. Avoid cheap fasteners that degrade in moisture.
Door Armor Single Door Security Set →
Screw length is non-negotiable. For strike plates, use 2.5" to 3" fasteners. For hinges, use 2.5" to 3". For jamb shields, use 2.5" fasteners. These lengths ensure you're anchoring into solid wood framing, not just the surface layer.
Strike plate quality varies. A reinforced strike plate has a larger surface area and deeper cup to hold the latch bolt. It spreads the force across more wood. Standard plates concentrate force in one small area.
Hinge shields prevent pin removal. If your hinges are visible from outside, shields block access to the hinge pins. Someone can't remove the pins and lift the door out of the frame.
Jamb shields create structural integrity. They connect the door frame to the solid framing behind it. This prevents the frame from flexing inward during a forced entry attempt.
For single doors, the Door Armor Single Door Security Set at $79.00 includes everything you need: reinforced strike plate, hinge shields, and fasteners. Installation takes about 30 minutes. For double doors or doors with side lights, specialized kits address the unique weak points those configurations create. The Door Armor Double Door Security Kit at $149.00 includes a night lock barricade. Doors with side lights need a different approach since they lack a center jamb. The Door Armor Side Light Door Security Kit at $129.00 uses jamb shields that screw into the face of the jamb to create the necessary rigidity.
How to Prevent Door Kick-Ins: Reinforcement Techniques
A door kick-in happens in seconds. An intruder runs at the door and drives their shoulder into it near the lock. The frame flexes, the strike plate pulls away from the jamb, and the door opens. You have maybe three seconds to respond.
Preventing a kick-in requires three things: a solid frame, reinforced hinges, and a strike plate that won't move.
Structural reinforcement stops the frame from flexing. When you install a jamb shield or reinforce the door frame itself, you're creating a rigid connection between the door and the solid framing behind it. The frame can't bend inward. That alone stops most kick-in attempts.
Long fasteners ensure your hardware stays put. A 3/4" screw pulls out easily. A 2.5" screw doesn't. When someone kicks the door, the force concentrates on the strike plate and hinges. Short fasteners fail. Long fasteners hold.
Hinge reinforcement prevents the door from separating from the frame. If the hinges fail, the door swings open. Replacing hinge screws with long fasteners and adding hinge shields makes hinge failure nearly impossible.
Deadbolts matter, but they're not enough alone. A quality deadbolt is important. But the lock is only as strong as the frame holding it. A deadbolt in a weak frame still fails during a kick-in.
The combination of these techniques creates a system. Each component reinforces the others.
Tools for Different Door Types
Not all doors are the same. Your reinforcement strategy changes based on your door configuration.
Single Entry Doors
Single doors are the easiest to reinforce. You have a clear strike plate, hinges on one side, and a solid jamb. The tools and techniques are straightforward.
Double Doors and Side Light Doors
Double doors present a different challenge. There's no center jamb, so the two doors meet in the middle. Standard reinforcement techniques don't work because there's nothing solid to anchor into at the meeting point.
Sliding Glass Doors
Sliding glass doors are vulnerable because they sit in a track. An intruder can lift the door off the track and remove it completely. Standard locks don't prevent this.
Common Mistakes to Avoid
Most people make the same mistakes when reinforcing doors. These errors waste time and money.
Frequently Asked Questions
What tools do I need to install a door reinforcement kit?
Most door reinforcement kits require a power drill with bits, a screwdriver set, a level, a tape measure, and a stud finder. Depending on your door type, you may also need a saw for cutting reinforcement plates or a hammer for driving fasteners. Door Armor kits are designed for DIY installation and come with detailed instructions specifying exactly which tools you'll need for your particular door configuration.
Do I need power tools to reinforce my door frame?
A power drill makes installation faster and easier, but it's not always required. Manual screwdrivers work for most door reinforcement projects, though they take longer. Power drills are especially helpful when driving multiple fasteners into hardened door frames or when installing security hardware on older homes with denser wood. For door security kit installation, a basic cordless drill is typically sufficient.
How long does it take to install door reinforcement tools and hardware?
Most homeowners complete door reinforcement in 30 minutes or less, depending on the door type and your experience level. Single entry doors usually take 20-30 minutes, while double doors or side light doors may take up to 45 minutes. Preparation, including gathering tools and inspecting your door frame, typically adds another 10-15 minutes. Door Armor kits are engineered for quick installation without requiring professional help.
What is a door reinforcement kit, and what's included?
A door reinforcement kit includes pre-manufactured security hardware designed to strengthen weak points where forced entry typically occurs. Kits typically include strike plate reinforcements, hinge shields, door jamb shields, and fasteners made from galvanized steel or similar materials. Door Armor kits vary by door type: single door kits start at $79, double door kits with night lock systems are $149, and side light kits are $129. Each kit includes all necessary hardware and fasteners for installation.